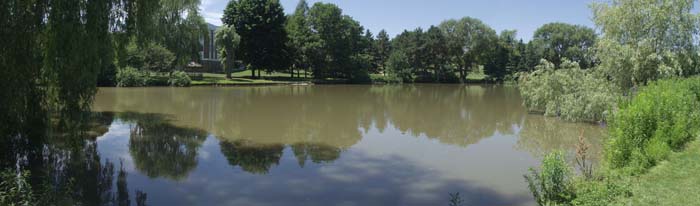
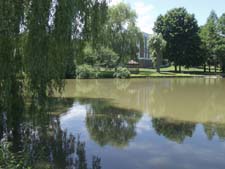
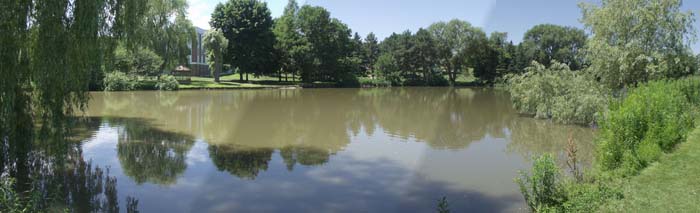
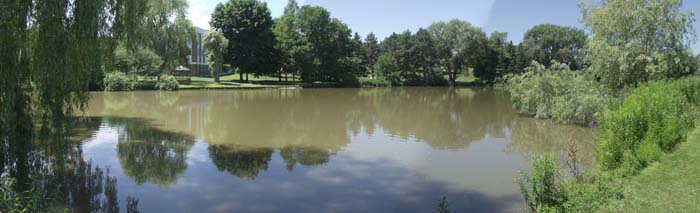
Here is a typical example, where three photos are combined...
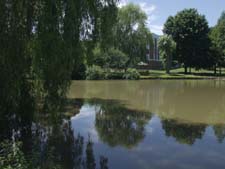
... to form one panorama
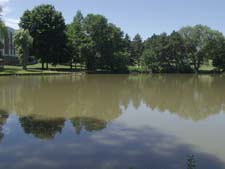
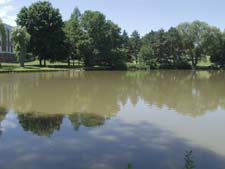
One can join overlapping photographs into a Panorama or even just a more detailed photo.
|
Here is a typical example, where three photos are combined... |
||
|
|
|
|
... to form one panorama
|
||
|
|
||
If you leave the camera on auto exposure, then there is a good chance that the exposure for the individual images will vary and these differences can possibly appear in the resulting panoramas.
Auto Exposure |
||
|
These three photos were taken with the camera on auto exposure. Notice the differences in exposure of the sky and water, especially. |
||
 |
 |
 |
|
When the images are combined, the varing exposure easily show up and destory the resulting panorama.
|
||
 |
||
|
Most software packages do allow one to correct for varying exposures, in Photoshop Elements is called Advanced Blending. As you can see below, it does help out quite a bit. Howver, it still shows up, especially in the sky area. |
||
 |
||
Fixed Exposure |
||
|
These three photos were taken with the camera on manual exposure. |
||
|
|
|
|
When the images are combined, as you can see there is not bands of different exposure.
|
||
|
|
||
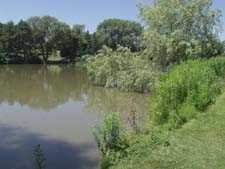
The images need to overlap each other by usually at least 30% and no more than 50%. The amount varies depending on the scene, the elements within the scene, the lens, and focal length used.
The best way to learn about the amount of overlap needed, is to experiment with your equipment and the type of scenes that you want to take.
By having a larger amount of overlap, may allow for some cropping of the image to improve or fix problems with an image. On the other hand, this will mean you will have more images to join, which requires more memory and takes longer.
Note: Some cameras have a panorma mode with help you with aligning overlapping images.
You need to keep the camera level for all the shots. While there can be a bit of varience between the images, any large amount will result in the panorama being useless.
Below is the original panorama that you have seen before cropping to fix the variance in levelness of the camera.

| Use a tripod | 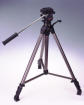 |
| Make sure the camera itself is level. The best way is by the use of a bubble level such as the one shown. | 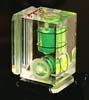 |
| If you are really into doing panorama's there are some special camera mounts designed for this type of work, such as those by Kaidan as shown. |  |
The individual images do not have to generally be that large in size, 2 meg is likely as large as you are likely to need. Most panorama programs allow you to resize the images down automatically when you are importing them to be joined.
The wider the angle of view (short focal length), the less images that are
needed and generally the better the panorama is.
However, be careful of lens distortions (such as barrel found in most wide angle
lens) as these will cause you problems.
Try using the best quality lenses that you can. Do not use fish-eye or most
extremely wide-angle lenses.
Basically, it's a matter of trying your lens(es) out and finding the widest setting, with the least amount, or at least acceptable, amounts of lens distortion.
Don't change focal lengths between shoots, ie don't zoom.
Don't change your position or view point.
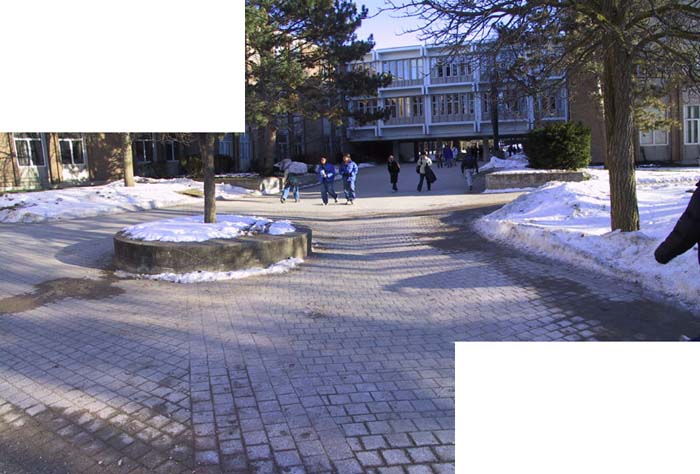
Some times objects, usually people, may appear in one image, but not in the next image. How much of a problem this creates depends on the size of the object and the amount of overlap between images.
|
Notice the arm
|
Notice no arm
|
 |
 |
|
The merging in this case went fine.
|
|
 |
|
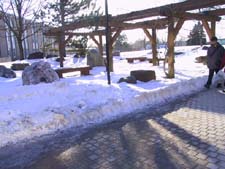
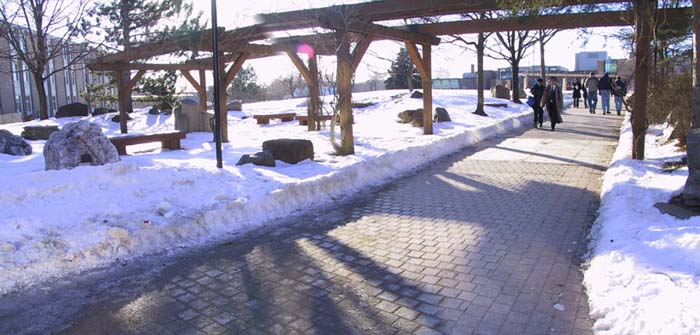
Other times things when the object is bigger, it can be more difficult and it may not be possible to total correct the problem.
|
Notice Person on Right
|
No Person
|
 |
 |
|
When merged, the person has disappeared, but we do have a fair amount of distortion in the trellis, with the beams not lining up.
|
|
 |
|
|
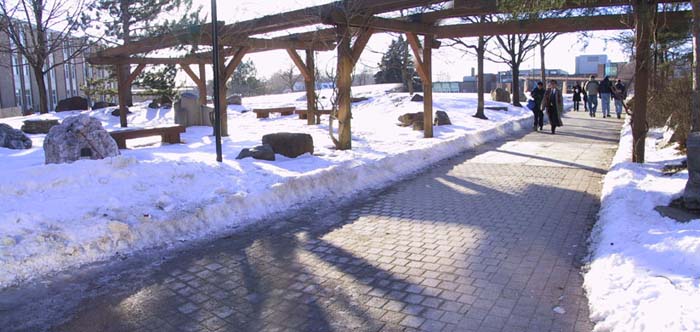
With some "playing" around we can get a much better merge. |
|
 |
|
If you are not using a tripod, then quite often when you go full circle and end up at the start, your alignment is off. This can especially be a problem, if you are planning on making a VR image out of the panorama.
|
Last image, notice the position of the tree base
|
First image, notice how much lower the tree base is.
|
 |
|
|
When the images are combined, there is not much in common
|
|
 |
|
After joining all the images together, the panarama would look like this.

The full size image (about 400 x 3600 can be downloaded.
Look at the two ends of the image, notice that there is some overlap of the
content. This will cause problems when the two ends are joined in the VR image
as shown below:
This problem is solved by cropping the panarama so that it is just a 360 degree view as shown below:

The resulting VR image
This is much better but there is an image alignment and brightness problem.
PanoGuide - A good reference web site on doing this sort of thing.
The Panorama Factory is a Windows based program
Here is an example of what it does:
 |
||||||||
Panweaver- Windows and Mac - for use with fish-eye images. Free for educational and personal use
Panorma Tools - Windows and Macand Linux- this is likely the most deluxe of the programs. For a review , by the way it's free.
Panorama Maker 2000 - Windows and Mac - Commercial, but rated one of the best.
Photoshop Elements - Windows and Mac - will do this
RealViz Stitcher - Windows and Mac
Photoshop Elements - from Adobe for both Windows and Mac
Cameras Software - If your camera has a panaramic mode, the software likely will do panoramas for you as well.
Panoramic Virtual Reality images are ones where on a computer, you get a viewing window which you move left/right up/down to explore the entire panoramic image.
Apple QTVR is likely the most extensive of these types.
Panorma Tools can create them as well.